Alright, now that you got a docker image in the previous example, Dockerize Spring Boot App Example, what now? The most obvious next step is to spin up the docker image in a Kubernetes cluster. But GKE (Google Kubernetes Engine) is bloody expensive for us mere mortals. Luckily we can practice Kubernetes stuff with Docker Desktop.
Assumptions
I’m assuming you have read my previous example, Dockerize Spring Boot App Example, So you should have the following already set up.
- Docker Desktop 4.55.0
- Windows 11 Home 10.0.26200
- IntelliJ IDEA 2023.3.4 (Community Edition)
- OpenJDK 17.0.10
- Crowsnest, example Spring Boot App
- Lens 2025.6.261308-latest
Docker Desktop
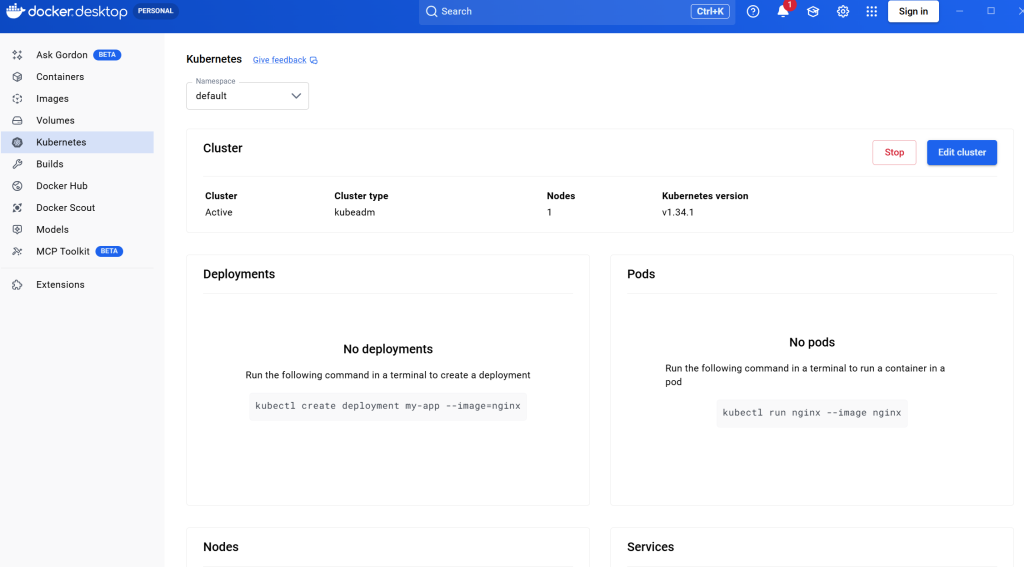
First up is to start a Kubernetes cluster via Docker Desktop. Should just be a bunch of clicks. I just chose a single node cluster (Kubeadm). You should have something like below:
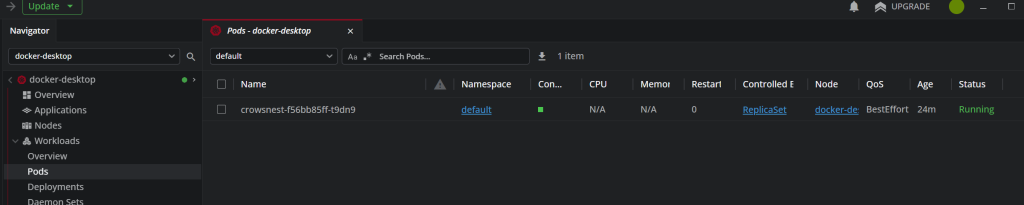
And if you have Lens K8S IDE. You’ll have something like below.
Deploy to Kubernetes
First, let’s check our image (docker images). Like so:
C:\workspace>docker images
                                                                                                    i Info →   U  In Use
IMAGE                                                                   ID             DISK USAGE   CONTENT SIZE   EXTRA
crowsnest:v1.0.0 b9bfb190828e 567MB 197MB ULet’s make sure we deploy to Docker Desktop kubernetes.
C:\workspace>kubectl config use-context docker-desktop
Switched to context "docker-desktop".And the fun starts, create a deployment.
C:\workspace>kubectl create deployment crowsnest --image=crowsnest:v1.0.0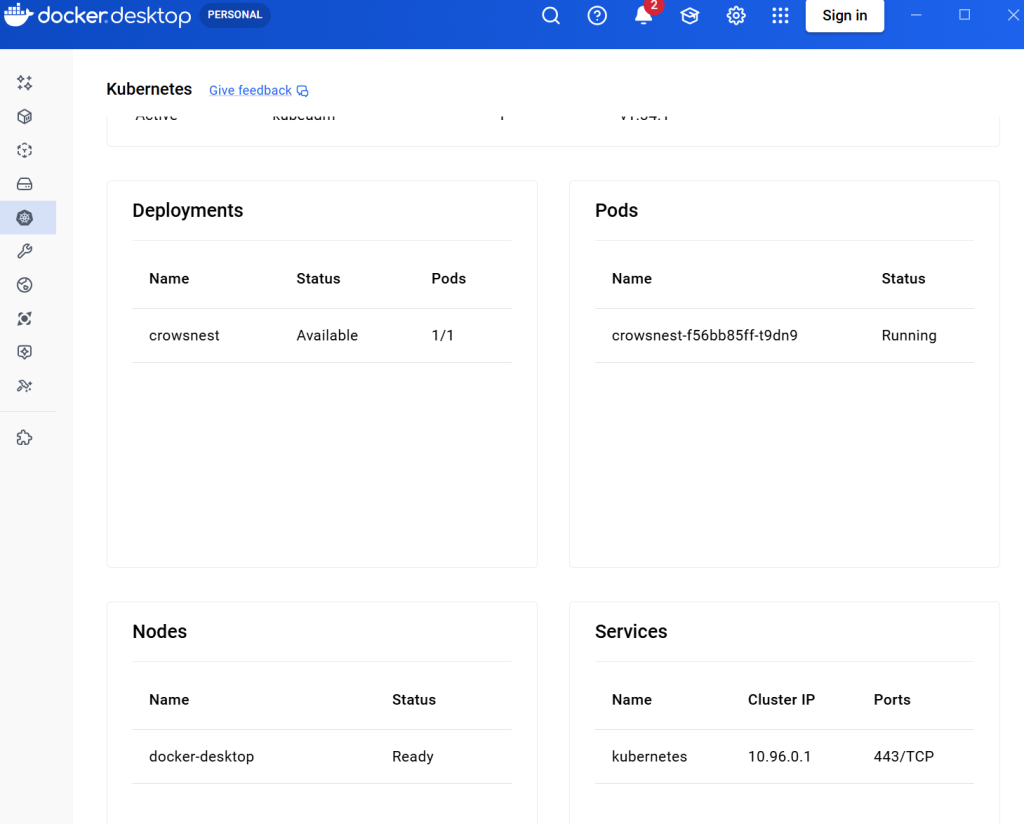
deployment.apps/crowsnest createdAfter deployment, take a look at Lens and Docker Desktop.
Or if you like CLI.
C:\workspace>kubectl get pods
NAME                        READY   STATUS    RESTARTS   AGE
crowsnest-f56bb85ff-t9dn9 1/1 Running 0 28mWell and good so far. But our web app is not reachable from the browser yet. We need to expose the port of the pod so we can get to the web app. Do note that your pod name might be different from this example.
C:\workspace>kubectl expose pod crowsnest-f56bb85ff-t9dn9 --port=8080 --name=crowsnest --type=LoadBalancer
service/crowsnest exposed

C:\workspace>kubectl get services
NAME         TYPE           CLUSTER-IP     EXTERNAL-IP   PORT(S)          AGE
crowsnest    LoadBalancer   10.100.27.69   localhost     8080:31912/TCP   97s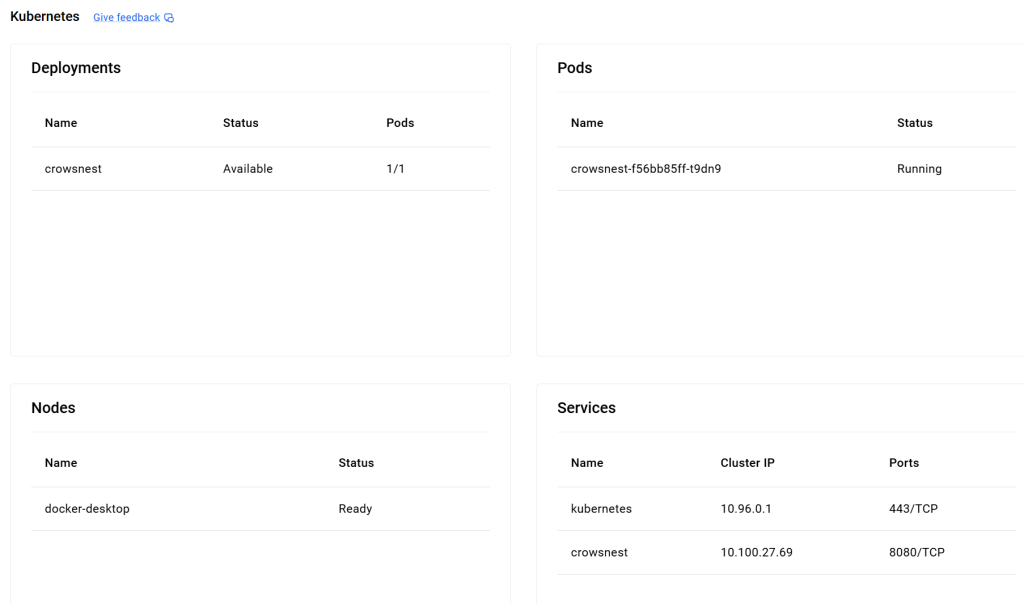
kubernetes ClusterIP 10.96.0.1 <none> 443/TCP 4d3hYou should have something like below.

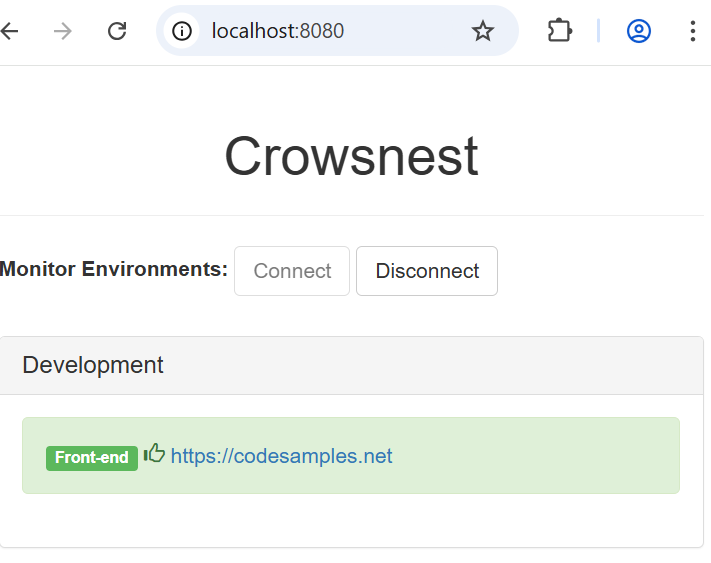
Perfecto! We should be able to access Crowsnest on the browser now. localhost:8080.
Thank you Docker Desktop for helping us save money by practicing kubectl stuff with you, instead of the expensive GKE. Deploying to GKE should be similar. Just need to point kubectl to GKE.
Undeploy from Kubernetes
Most importantly when doing this on a paid Kubernetes service, don’t forget to delete the pod, service, deployment, etc. GKE billing is astronomical (delete the project too to be sure!) Here are the commands to undo what you’ve done.
C:\workspace>kubectl delete service crowsnest --now
service "crowsnest" deleted from default namespace

C:\workspace>kubectl delete deployment crowsnest --now
deployment.apps "crowsnest" deleted from default namespace

C:\workspace>kubectl get services
NAME         TYPE        CLUSTER-IP   EXTERNAL-IP   PORT(S)   AGE
kubernetes   ClusterIP   10.96.0.1    <none>        443/TCP   4d3h

C:\workspace>kubectl get pods
No resources found in default namespace.Deploy to Kubernetes Wrap Up
Yes, we did all of the above steps manually. Yes, this can all be automated. But before we automate stuff, we have to do it manually. For example, you can create a GitHub action workflow to do all of the above steps to spin up your docker image to GKE, just with a yaml file. That would be another story. Happy spinning!
Leave a Reply